In Switzerland, the owners of this house in Nyon wanted to modernize their aging bathroom. Their goal was to have a brighter, more functional, and pleasant space for daily use, while keeping a bathtub.
To realize this project, the clients turned to Avenir Rénovations Suisse. From the removal of the old fixtures to the finishing touches, our team ensured complete coordination of the site and the renovation of this 6 m² bathroom thanks to the 4 trades: plumber, electrician, tiler, and painter.
A bathroom to modernize and optimize
The existing bathroom no longer matched the tastes or needs of the owners. The coverings were aging, the fixtures lacked modernity, and the available storage was insufficient to easily organize everyday products.
The clients wanted to maintain the general layout of the room, with a bathtub, a toilet, and a sink area. Their priority was to improve comfort without overcrowding this relatively compact space.
The new layout also needed to bring in more light. Light and natural shades were favored to visually enlarge the room and create a soft and calming atmosphere.
The owners chose Avenir Rénovations Suisse to benefit from a single point of contact to advise them on material choices, organize the various interventions, and monitor the progress of the site.
The different stages of the bathroom renovation
Stage 1: removal of the old fixtures
The project began with the removal of the old sanitary fixtures, furniture, and wall coverings. This first intervention allowed the room to be stripped down and the condition of the supports and various networks to be checked.
The craftsmen also protected the circulation areas of the house to limit dust and preserve the neighboring rooms throughout the duration of the work.
Stage 2: adaptation of plumbing and electrical networks
After the removal, the water supply and drainage networks were checked and then adapted to the new fixtures. The necessary connections for the bathtub, sink, and toilet were prepared with precision.
The electrical installation was also updated to include new lighting above the mirror as well as recessed spots in the ceiling. Their positioning allows for a uniform light distribution throughout the room.
Particular attention was paid to compliance with safety standards applicable in a damp room.
Stage 3: preparation and waterproofing of supports
Before laying the coverings, the walls around the bathtub were carefully prepared. A waterproofing system suitable for damp rooms was applied to protect the supports against water infiltration in the long term.
The craftsmen also checked the flatness of the surfaces to ensure a regular installation of the new tiles. This step was essential to achieve clean finishes and ensure the durability of the renovation.
Stage 4: installation of wall tiles
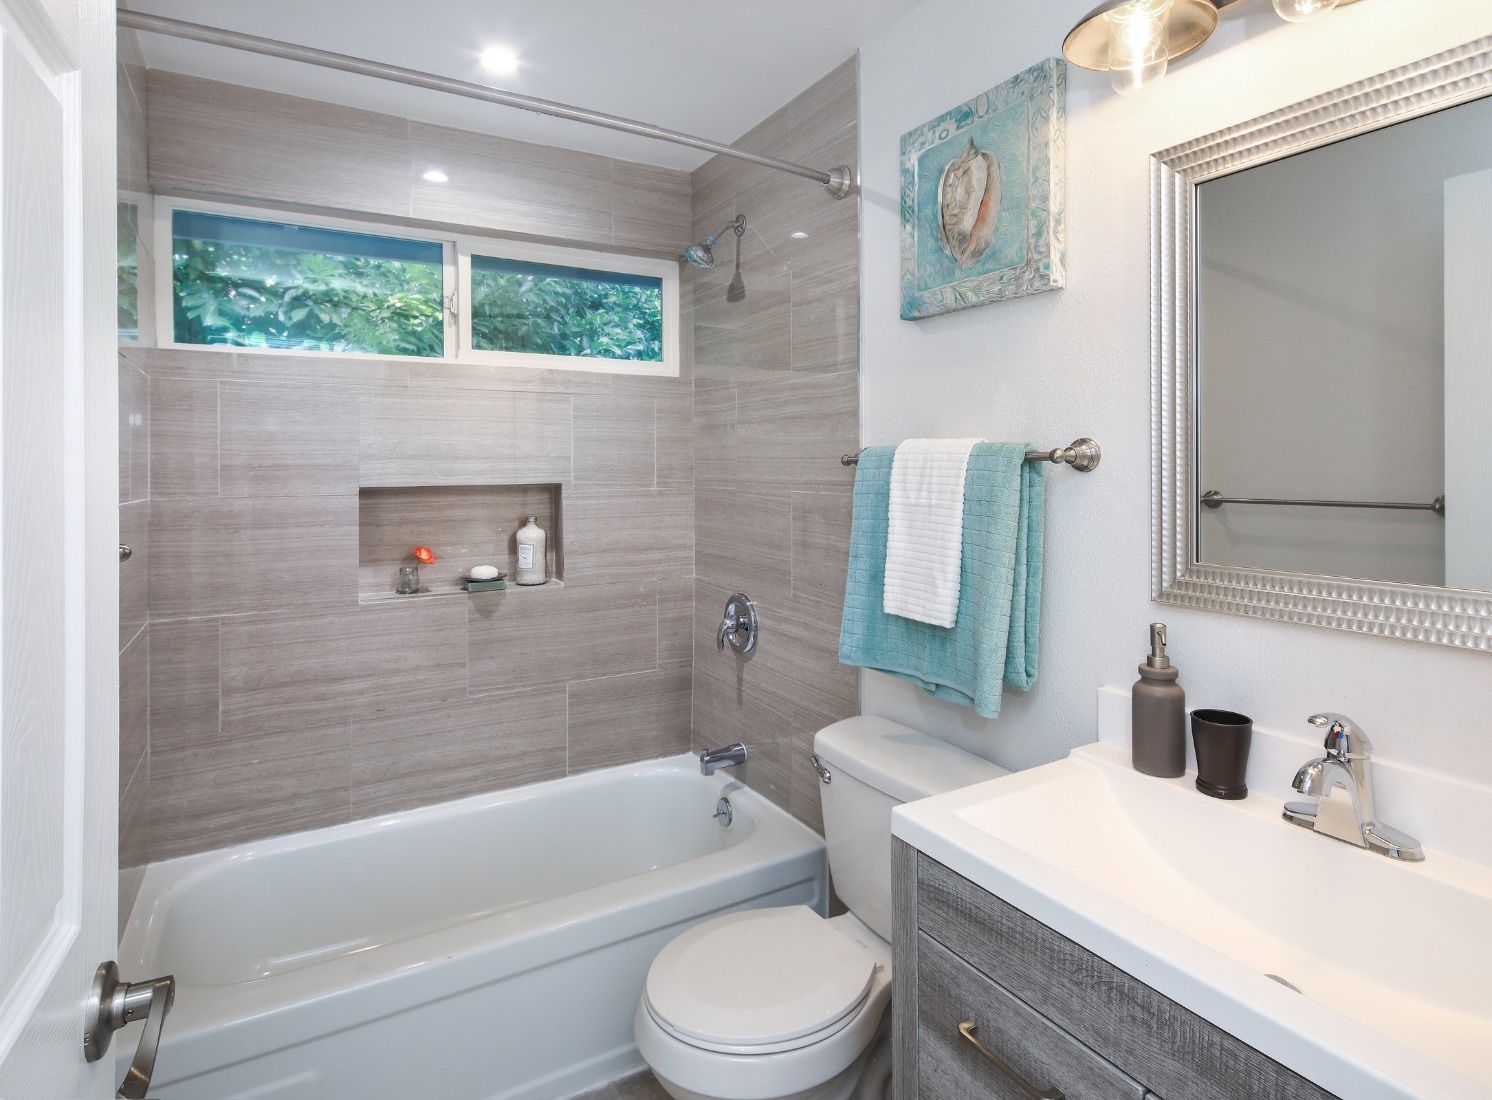
The owners chose a gray-beige tile with natural shades to dress the walls around the bathtub. Its large tiles and horizontal lines help to visually enlarge the room.
The covering extends over the entire area exposed to water splashes. A wall niche has also been integrated above the bathtub to store toiletries without cluttering the edges.
The other walls have been painted white to enhance brightness and visually lighten the layout.
Step 5: installation of the bathtub and sanitary fixtures
A white bathtub has been installed along the main wall. It is equipped with a chrome faucet, a wall shower, and a rod allowing easy use of this space as a bathtub or shower.
The toilet has been positioned between the bathtub and the sink cabinet to maintain smooth circulation. The compact layout of the various fixtures allows for efficient use of the available space.
The seals and connections were then carefully completed to secure the installation.
Step 6: installation of the sink cabinet and mirror
A wall-mounted sink cabinet in a gray wood finish was chosen to bring a contemporary touch to the room. Its wide drawers provide practical storage while keeping products and accessories within reach.
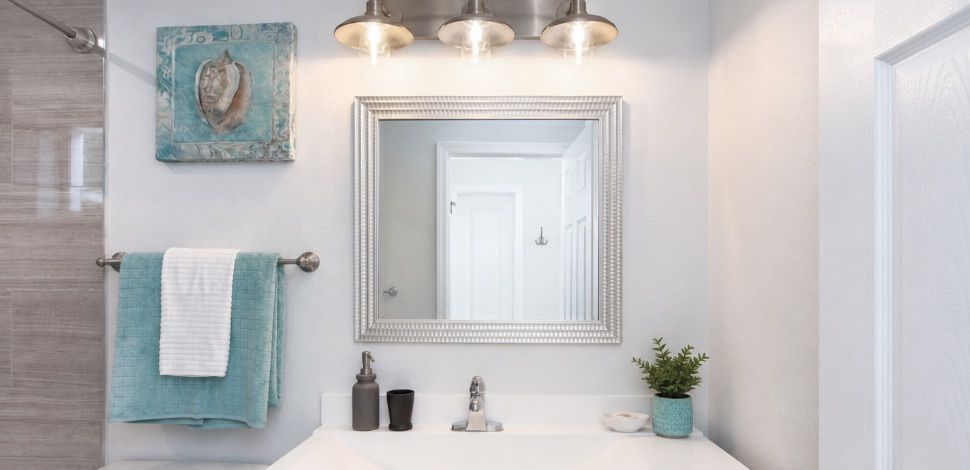
It is topped with a white sink countertop with clean lines, paired with chrome fixtures. A large mirror with a silver frame completes the ensemble and helps to reflect light in the room.
A lighting fixture composed of three light points has been installed above the mirror to ensure comfortable lighting in front of the sink.
Step 7: finishing touches and decoration
The final stage of the project was dedicated to the finishes: sealing joints, paint touch-ups, installation of the towel rack, and checking the functionality of the fixtures.
Accessories in turquoise shades were added to bring color and create a decorative link between the towels, the wall art, and the small items arranged around the sink.
A plant placed near the sink completes the layout and enhances the natural atmosphere of the bathroom.
Result: a bright and functional bathroom
At the end of the work, the bathroom has been completely modernized. Despite its compact size, it now has all the necessary fixtures without feeling cluttered.
The gray-beige tile adds warmth, while the white walls, large mirror, and various lighting make the room brighter. The sink cabinet offers additional storage and facilitates daily organization.
The bathtub allows the owners to enjoy a relaxation space while retaining the option to take a shower. The wall niche provides a discreet and practical solution for storing toiletries.
Thanks to the support of Avenir Rénovations Suisse, the clients now benefit from a comfortable, modern bathroom perfectly suited to their needs.
Do you want to renovate a bathroom in Switzerland?
With Avenir Rénovations Suisse, you benefit from a single point of contact to support you at every stage of your project: design of the fit-out, choice of materials, coordination of craftsmen, and monitoring of the work until its completion.
Contact us today to request your
free quote and envision a bathroom tailored to your desires as well as your home.



 0 I like