1 - Step 1: ensure the building's solidity
Structural issues must be addressed first. An evolving crack, a sagging floor, a weakened framework, or a load-bearing wall modified without caution can compromise the safety of the house.
Depending on the diagnosis, interventions may involve repairing part of the framework, reinforcing a floor, consolidating a wall, or addressing ground movements. These works condition everything else in the project. It would be pointless to lay a new finish on an unstable support.
2 - Step 2: make the house watertight
An old house must then be durably protected against rain and humidity. It is necessary to check the roofing, roof joints, gutters, downspouts, facades, and the sealing of openings.
Inside, stains, persistent odors, or cold walls may be linked to infiltration, rising damp, a leak, or insufficient ventilation. It is essential to identify the cause before repainting. Hiding the traces without resolving their origin only postpones the problem.
3 - Step 3: improve the envelope and ventilation
Once the building is sound, energy renovation can begin. In many old houses, the roof is a significant source of heat loss. Its insulation is therefore often a priority, followed as needed by the walls, ground floors, and windows.
However, the replacement of windows should not be decided in isolation. A house made more airtight must have appropriate ventilation to expel humidity and maintain air quality. Insulation, joinery, heating, and ventilation must form a coherent whole.
An energy assessment helps prioritize interventions based on the condition of the housing, its construction method, and the available budget. As assistance varies by canton and municipality, their availability should be checked before signing quotes and starting the work.
4 - Step 4: secure the technical networks
Electricity, plumbing, sanitation, and heating must be checked before finishing. An outdated installation can pose risks, cause breakdowns, or no longer meet current needs.
This phase may include renovating the electrical panel and circuits, replacing pipes, upgrading hot water production, or installing more efficient heating. It is also wise to anticipate future locations for the kitchen, bathroom, outlets, and lighting. Technical passages can thus be made before closing the walls and floors.
5 - Step 5: reorganize, then complete the finishes
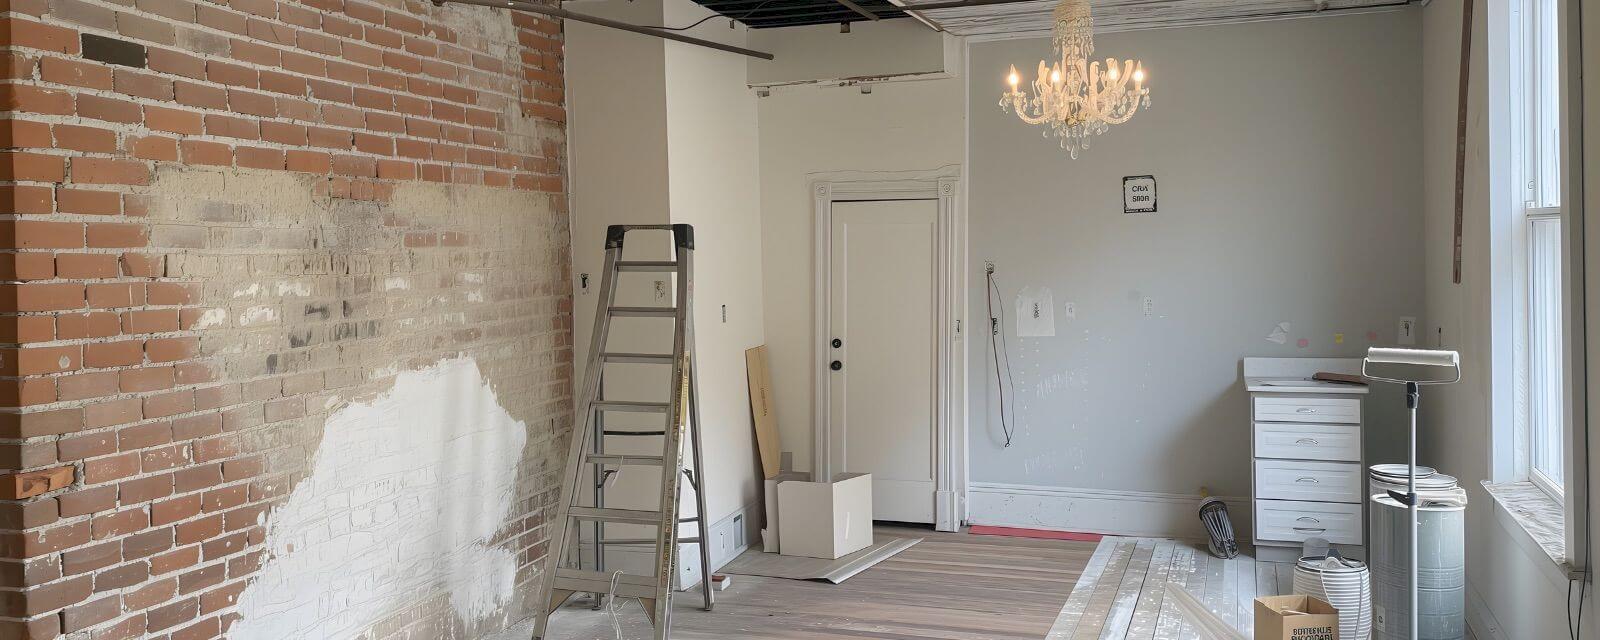
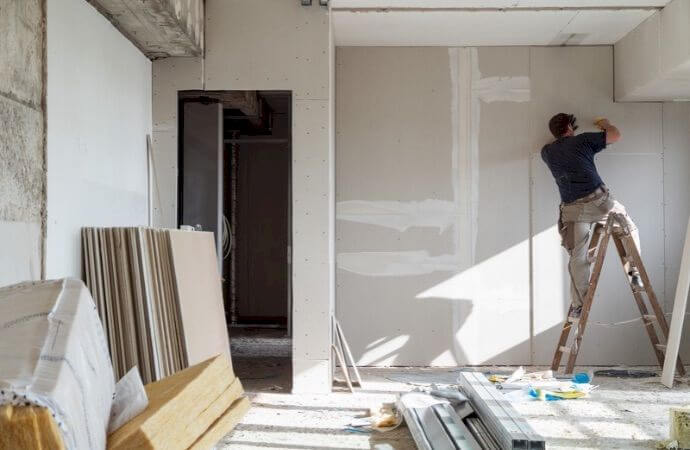
Once the structure, sealing, envelope, and networks are addressed, the interior redistribution can begin. The removal of a partition, the creation of an opening, or the development of the attic must be studied carefully, especially when a load-bearing element is involved.
Floor coverings, paints, the kitchen, and decorative equipment come last. This organization protects new materials from heavy work and allows for more durable finishes.